

How To Create A Split Screen On Macbook Pro
How To
How to Use Multitasking on the iPad
Posted on October 5th, 2021 by

Apple has long tried to convince people that the iPad can replace a computer; that it can be a mobile device that does everything that most people need to do on a laptop. To this end, Apple has tried to make iPadOS more flexible through a series of multi-tasking features, such as Split View, and Slide Over, and Center Window.
Apple first introduced multitasking features back in iOS 9, and expanded on them with iPadOS 13, but they were hard to use, and most iPad users only encountered them when an accidental swipe on their tablet's screen enabled them. Now, in iPadOS 15, these features are a lot more usable, and easy to discover.
In this article, I'll explain how to use multitasking on the iPad to view two apps at a time, and more.
Multitasking controls
When you work on a Mac, you use multiple windows, and you can easily switch from one to another in many ways: you can click on a different window, click its Dock icon, or press Command-Tab to use the application switcher.
But on an iPad, you generally just use one app, one window at a time. Apple introduced Split Screen mode in iOS 9, and has enhanced it over the years. Finally, in iPadOS 15, now called Split View, it's easier to discover and easy to use.
With most apps you use on an iPad, you see three dots, what Apple calls the Multitasking button, at the top of the screen.

With some apps, the Multitasking button fades away after a few seconds so as to not be distracting; this is the case if you're reading books in the Books or Kindle apps, or if you're watching videos in the TV app. In some cases, the Multitasking button won't display at all, if the window, such as for a game, isn't resizable. To see the Multitasking button again after it's faded, just tap the screen.
When you tap the Multitasking button, you see three small buttons. From left to right, they are the Full Screen button, the Split View button, and the Slide Over button.

Split View
Tap the Split View button to split the current window. At first, it moves to the left, almost off the screen. It does this so you can tap another app on your iPad's home screen, or in the Dock, to open it. Tap an app, and both apps will now split the screen. They'll split roughly at the middle of the screen, but sometimes, especially in portrait mode, graphics may force one window to be wider than the other. (If you tap an app that doesn't support Split View, you'll see a small popup saying so.)
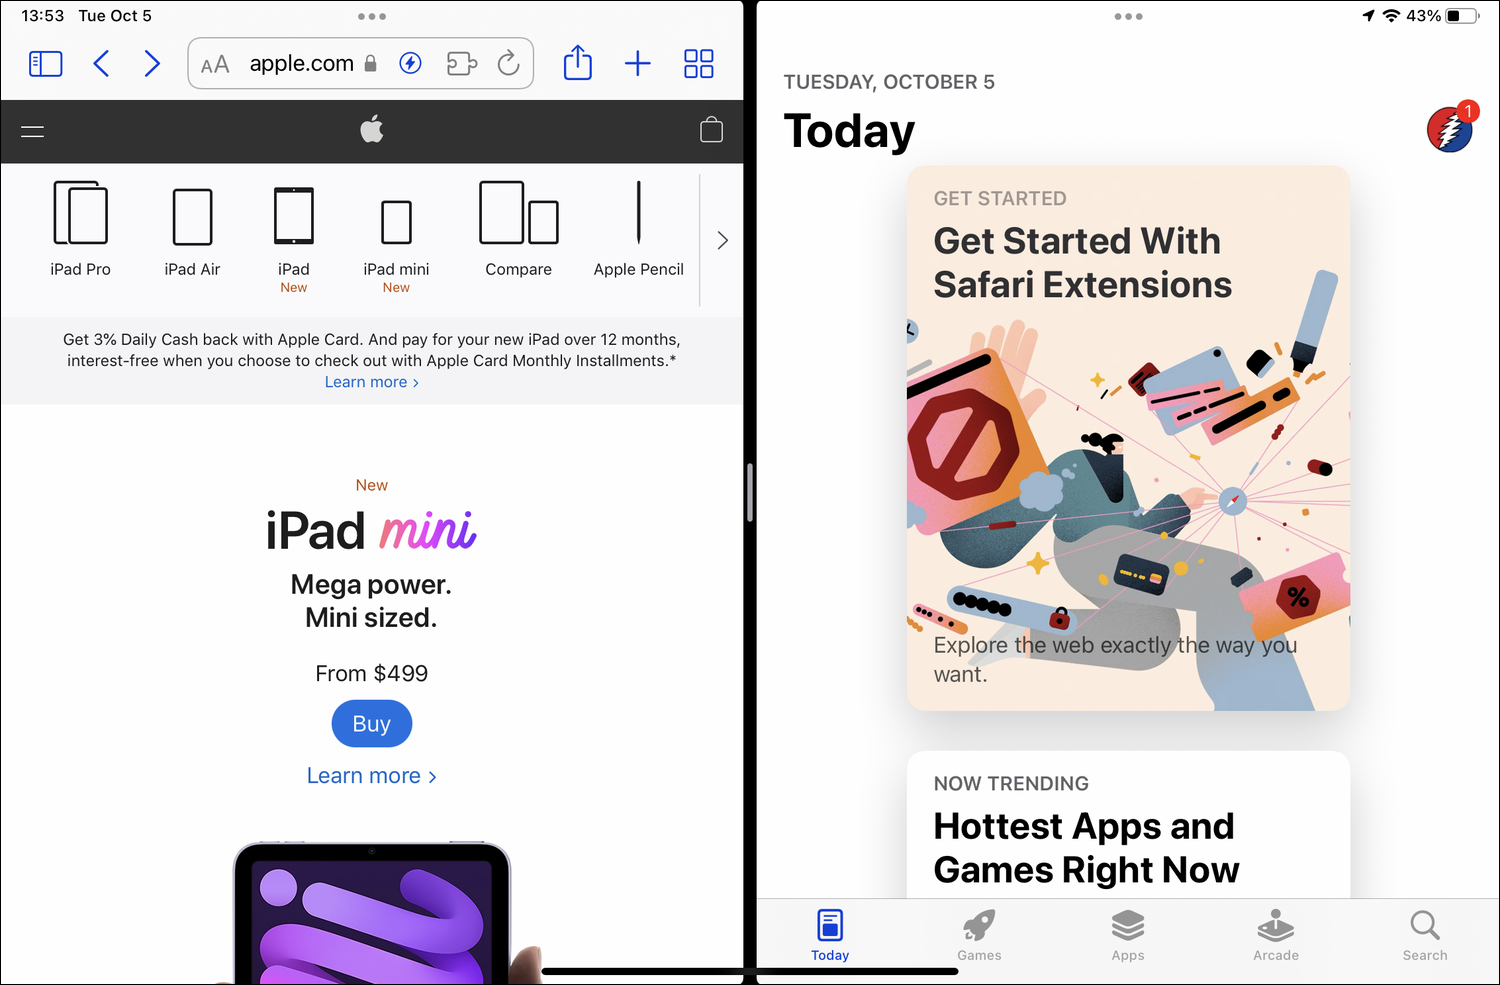
If you tap and drag the center of the divider, where you can see a small white line, you can resize the windows.
If you want to return to full screen view, tap the Multitasking button, then tap the leftmost button that displays to return to full screen.
Slide Over
Slide Over is different from Split View; instead of windows being equal, with a divider between them, Slide Over opens the second window above the first, as a sort of floating window.
In the above screenshot, if I wanted to turn the App Store window, which is on the right, into a Slide Over window, I could tap the Multitasking button, then the Slide Over button. It then looks like this:
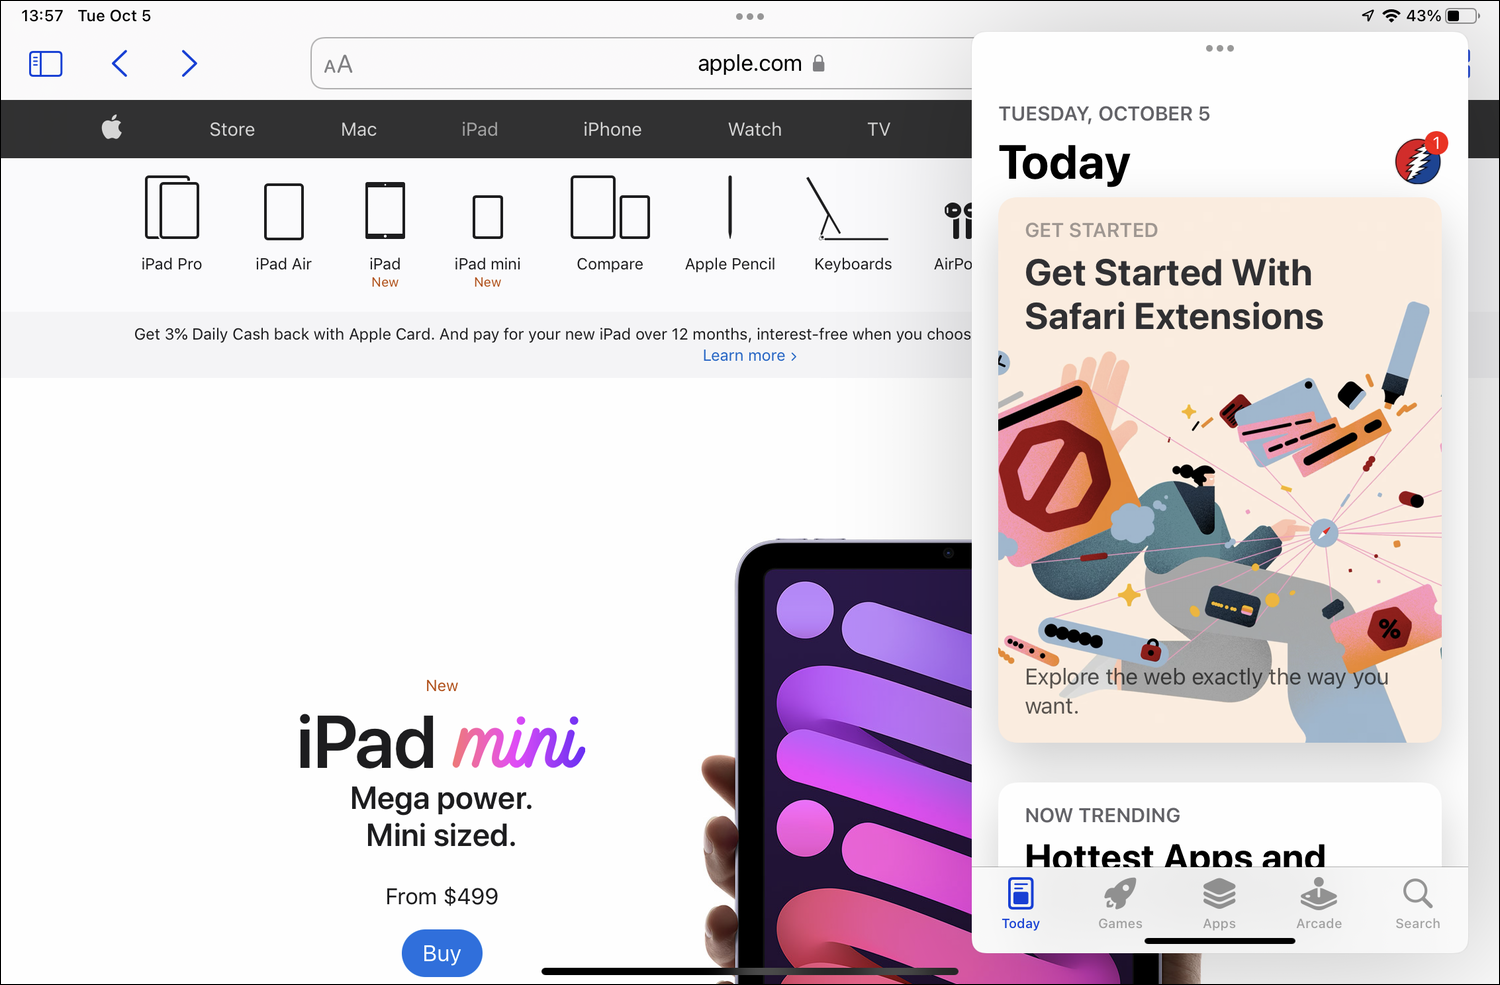
The Slide Over window is a full, mini window; in fact, it almost looks like an iPhone app on the iPad screen, with tabs on the bottom. You can move the window to the other side, by dragging the Multitasking button, and if you tap and hold the bottom of the app, where the black line is, you can drag it out of the way, just a bit, to see what's behind it.
You can have multiple apps in Slide Over, but this can get a bit confusing. With one app open in full screen, and another in Slide Over, swipe up to go to your home screen. Tap another app – it will display in full screen – then tap the Multitasking button, then the Slide Over button. Once you have multiple apps in Slide Over, you can rotate through them by swiping the bottom of the Slide Over apps, where the thick black line is.
To move Slide Over windows out of the way, tap and drag from the left edge of the window, to the right of the screen (or, if the window is on the other side, the right edge toward the left). The window goes off screen, and a small < is visible for a few seconds. Getting the Slide Over window back is a bit difficult; you need to swipe just a tiny bit from the edge of the screen until the < appears, then tap that to bring the window back.
Use Center Window
Some apps, such as Mail or Notes, allow you to open items in separate windows. In an app like this, tap and hold an item, then, in the contextual menu, tap Open in New Window. You'll see something like this:
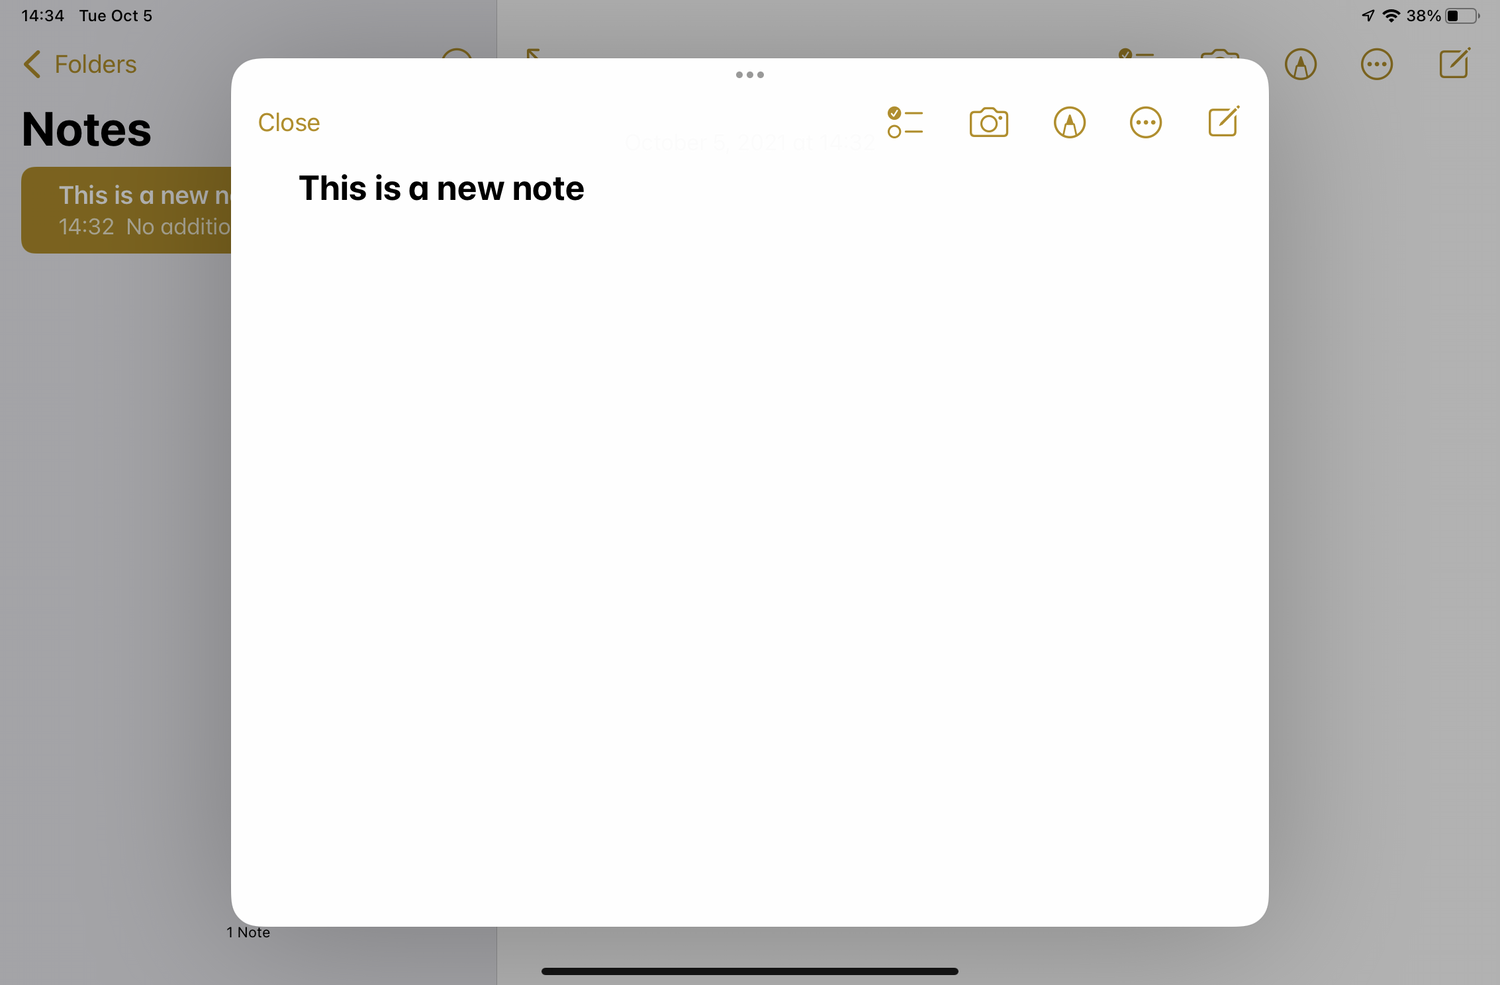
You can then tap the Multitasking button to change this window to Split View or Slide Over, allowing you to view an item without the additional interface elements of the app.
Use the Shelf
When you switch to an app that's in multitasking mode – with multiple windows – a small "Shelf" displays at the bottom of the screen. You can tap one of these thumbnails to open that specific window.

Use Drag and Drop
One reason to use Split View or Slide Over is to move content from one window to another. You can use drag and drop to do this. Just tap and hold an item in one window, then drag it to the other. Below, I drag the Learn More link to a note:
Use Picture in Picture
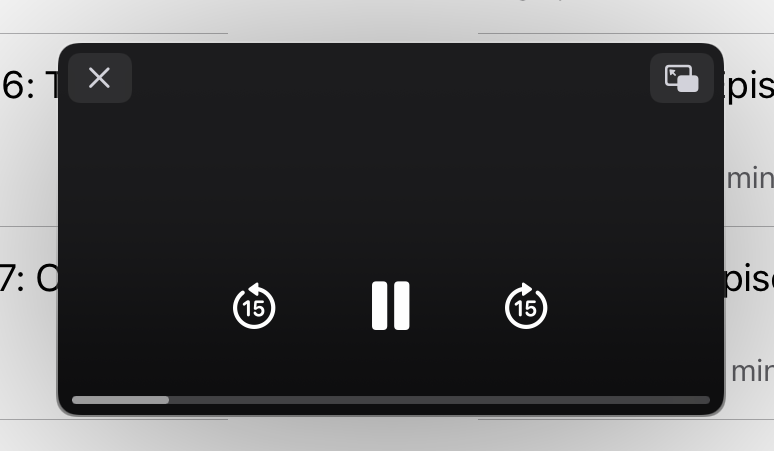
Finally, Picture in Picture is a sort of multitasking where you can make a video or a FaceTime call into a thumbnail so you can check another app. Tap the Picture in Picture button on the video – most video apps support this, as do many online videos – then open a second app. To return the video to full screen, tap the Full Screen button. The Picture in Picture button is at the top-left if the video; it's the middle button on the left in the screenshot below.

The Full Screen button is at the top right of the miniaturized video, as below.
There's a lot going on in iPad multitasking, and it may take a while to get used to it, but it's a huge improvement over they way it worked before. While you may not need some of the more arcane options, using Split View and Slide Over can help improve your productivity when you're working on an iPad.
How can I learn more?
 Each week on the Intego Mac Podcast, Intego's Mac security experts discuss the latest Apple news, security and privacy stories, and offer practical advice on getting the most out of your Apple devices. Be sure to follow the podcast to make sure you don't miss any episodes.
You can also subscribe to our e-mail newsletter and keep an eye here on Mac Security Blog for the latest Apple security and privacy news. And don't forget to follow Intego on your favorite social media channels: Facebook, Instagram, Twitter, and YouTube.

About Kirk McElhearn
Kirk McElhearn writes about Apple products and more on his blog Kirkville. He is co-host of the Intego Mac Podcast, as well as several other podcasts, and is a regular contributor to The Mac Security Blog, TidBITS, and several other websites and publications. Kirk has written more than two dozen books, including Take Control books about Apple's media apps, Scrivener, and LaunchBar. Follow him on Twitter at @mcelhearn. View all posts by Kirk McElhearn →How To Create A Split Screen On Macbook Pro
Posted by: byersmestled.blogspot.com
Source: https://www.intego.com/mac-security-blog/how-to-use-split-screen-and-slide-over-to-do-multitasking-on-ipad/
0 Response to "How To Create A Split Screen On Macbook Pro"
Post a Comment